It's fairly easy to make windows breakable or bulletproof.
Start by opening up the AvP2.dep project. You will be building custom levels in the the AvP2 project. Open one of your existing levels. Or create a new test one.
You'll find out how to bind transluscent objects to brushes to make them see through, this is prefect for Windows, bars, railing, grates, and metal truss structures.
Cut a hole in a wall, using the Ctrl-S split function. You are going to put a window in there. If you split it properly, you will have the window brush as the end result. Do not delete it. But from the top view, reduce its thickness. Use the -/+ keys to change the grid as necessary.
The key to TRANSLUSCENTS is using the right textures.
There are specific textures that are designed to represent glass, etc. Find them in the WorldTextures/Glass folder. Pick one. The blue one works well in game.
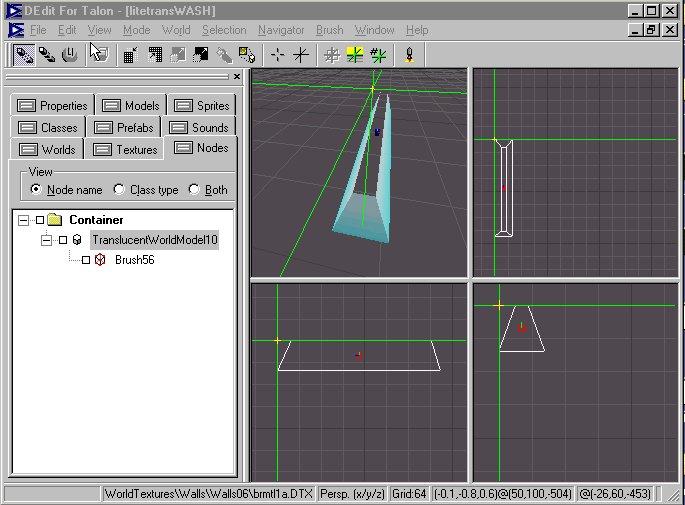
Texture the new brush with it, using CTRL-T. Now hit the marker to selection, so the cursor plants itself in the center of the brush. The advantage is you keep track of the TWM and the associated brush. Right Click And select BIND TO OBJECT, the object we need is TRANSLUSCENT WORLD MODEL, scroll to it and select.
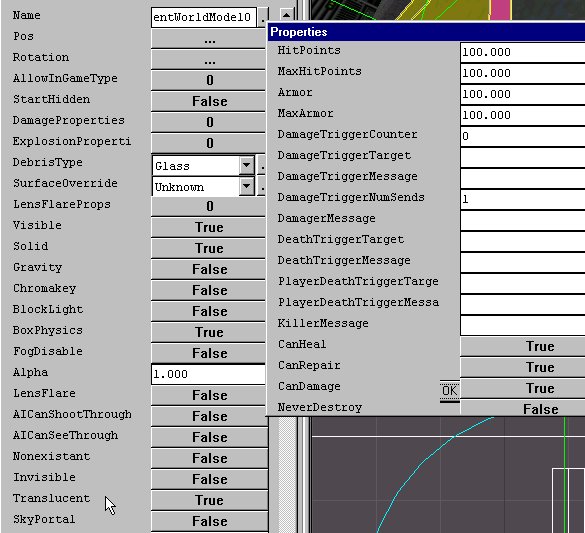
If you now go to the propeties tab, you want to flag TRANSLUSCENT TRUE.
PROCESS. You should be able to see through that window. What do you notice? Did you see the weird flash effect where the transluscent window is making contact with the wall? That's because the texture from the window is sharing the same plane as the wall frame. To fix this, you apply an invisible texture of the four edges to the window brush.
Problem solved.
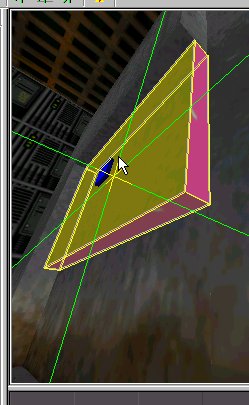
This same technique is used for the hazy shafts of light that you see on light fixtures. You create a wedge type brush and bind it to a TWM with invisible textures placed on two of the faces. Then set it transluscent=TRUE. As with the glass the texture is very important. You'll find LITEFX textures in the details folder.
Always take the time to investigate the flags available for any given object
Breakable versus bulletproof glass
If you click on the properties tab, there are many options available in the fields. If you want to make the glass of the window breakable you go into damage properties. At the bottom you will find NEVER DESTROY. Make it FALSE. Then in the debris field, scroll through the options. One of the first ones is GLASS. The brush defaults to 100 hit points, which is a couple blasts of a shotgun, so you can leave it or change it as you see fit. If you leave it TRUE, the window will be bulletproof. Set the debris field accordingly.
Giving a sense of depth makes a level look larger than it is
Windows to inaccessible areas or to areas that a player has not arrived to yet, makes level seem large. This was done very well in HALF-LIFE and OPPOSING FORCE. Get into the habit of creating areas outside the play area.
One important note. Once an object is bound to a TWM it cannot be an outside shell brush, it will generate a leak. So if you are creating a window or skylight to show the sky, you need to build a sky portal box outside the window to make sure the level is sealed. Here is an example.
MIRROR
Be careful when you use a mirror. It should only be used in a confined space, cause the reflection generated increases the poly count by what it duplicates, so if 1/2 the level is in the reflection you will get lag. Use them in a room, with not much happening in the reflection beyond the player seeing themselves. Use the same set up as a window, the same glass textures and add this to the effects field in the properties for the TWM.
Mirrors are not offically supported in Talon. What exactly does that mean?. When you as a player look in the mirror, your reflection won't necessarily be playing an animation. They weren't programmed. Still it's an interesting effect, and easy to produce. Make sure you use a glass texture, for its reflective properties.
Effect: mirror
EffectParam: Overlay